I actually got to take a week of in August. We went to the Keys and enjoyed doing a lot of nothing and off course a lot of swimming/snorkeling/sun-bathing and «it’s five o’clock somewhere». It was great!
Before that I had a major updated release of the NYWF Maya Shelf (the documentation on the shelf is somewhat outdated but there’s a video that shows it in action. I am working on updating the doc and the video. Come time available…).
The shelf contains many buttons to make repetitive tasks a matter of clicking a button. The material creation is the biggest topic of the shelf. The other big topic is naming nodes to match the NYWF naming convention. All the scripts follow the same naming convention and give the user a nice interface with drop down menus to choose the global names.
On this release I streamlined almost every single scripts. I made sure that there is documentation in every script header and that everything is compatible with each other and updated to the latest version of the cgfx and material network specifications.
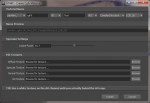
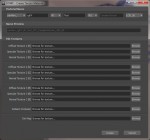
Amongst bug fixes and minor adjustments all the dialogs now pick up the name of the selected object and use it as a starting point for the naming if an object is selected. The texture slots are «intelligent». Which means when the user selects a diffuse texture the script is looking for the corresponding specular, normal and AO file with the same base name on the hard disc. Also the user can now double click every button which will open the script in a text editor for more info/local documentation. Plus we moved the compiling and distribution of the installer to the internal build-server so we have history of the individual builds and that the modelers can download it at all times form a trusted source.
There’s three ways to generate materials with it that are all exportable using the OgreMax exporter.
– The latest addition is the cgfx shaders. Nick Beato* customized compiled our own version of the Maya cgfx plugins using his own cgfx shaders directly inside Maya. I added interface to create all the nodes inside Maya. On those cgfx shaders I also create all necessary OgreMax nodes for export via MEL. This shader is composed from 17 nodes (regular shader) and 38 nodes for the terrain shader which is a three pass shader with 11 textures using vertex coloring for the blending.
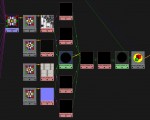

– Maya materials which uses a Maya LayeredShader to map the AO/Dirt map on top of the diffuse map, links a specular texture to the specular color and a normal map to a Maya bump node which is automatically set to normal map and not bump can be created. Such a shader involves 12 nodes which would have to be created and linked together by hand each time. Also doing this via a script ensures that everything is linked the same way. All the time. Those shaders need to be «converted» (OgreMax nodes added) so they can be exported into the Ogre 3D engine. The advantage is that we can also use the shaders without converting them for either hardware rendering or software rendering inside Maya. The Maya shaders can be created in 12 different structures depending on what channels need to be mapper (diffuse, specular, normal, AO) and also specialty shaders for foliage, windows or flags can be created.
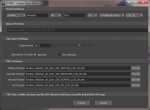
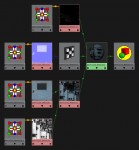
– Fixed function materials can also be created that use blending modes to layer a diffuse and an AO/Dirt map pass on top. It creates a regular Maya material and all OgreMax material nodes and licks the texture path and diffuse, ambient, specular and emissive (incandescence) colors from the Maya to the OgreMax material. It’s concept is OgreMax Material centric. That means the Maya shader receives the parameters form the OgreMax nodes. The user tweaks the material using the Ogremax preview window directly inside Maya. There are some Maya setRange nodes that convert the color values or the specular values. Maya color information can be in HSV or RGB values and those either from 0-1 or form 0-255. Ogre only understands values from 0-1. Another case is that the Cosine Power of a Maya Phong shader goes from 2-100 and Ogre expects to see a value between 0 and 255. All those values and possibilities are caught by the script and converted so OgreMax understands the values. Plus I made an effort to make the previews in Maya and the Ogre previews match as good as possible. (Those buttons are disabled in the current version because of space on the shelf and this technique is deprecated for the NYWF production)
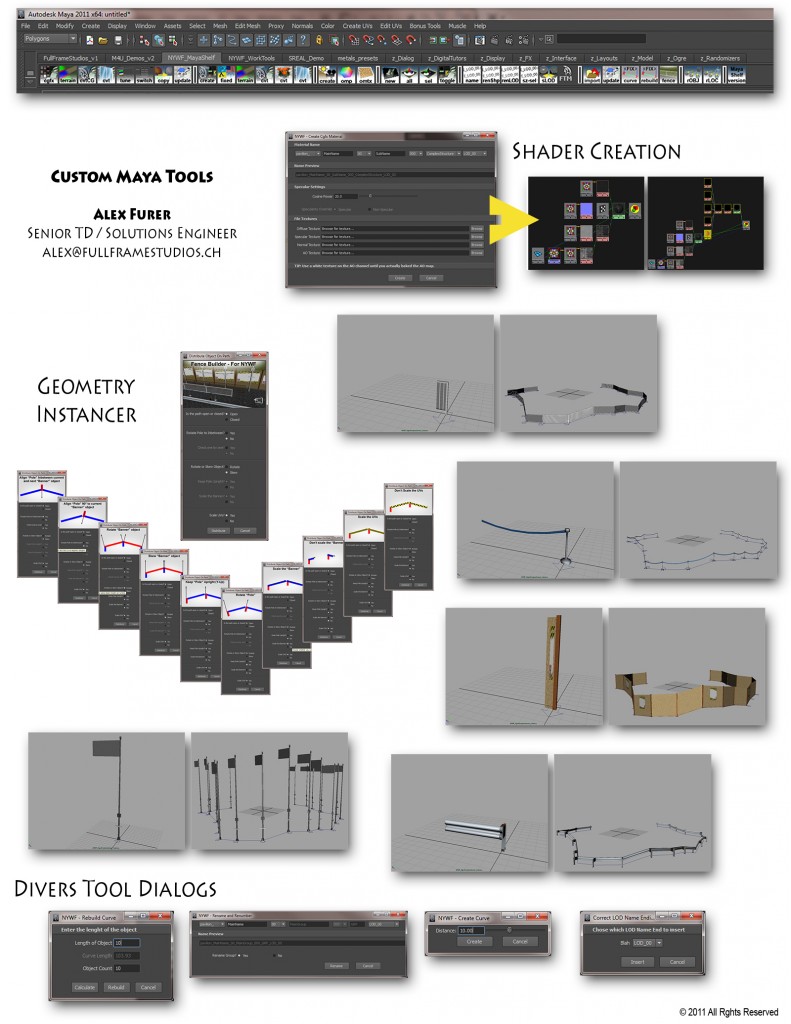
The other buttons are there to tune materials, convert materials, name nodes, set LOD relationships between geometry, and replace existing objects with the current selection using the existing location, rotation or scale or to export tree locations to a formatted text file for the woody 3D tree system. And then there’s the «Fence Builder» section which enables the user to distribute objects along curves (using point to point tangent, normal and bi-normals), draw curves with a predefined edit point spacing or rebuild curves using a specific distance between the points.
Here’s a compilation image of some of the scripts
*Nick is not only one of the most talented programmers I had the honor to work with he also makes great music!!
