3D ArtRoom 2022 – Update

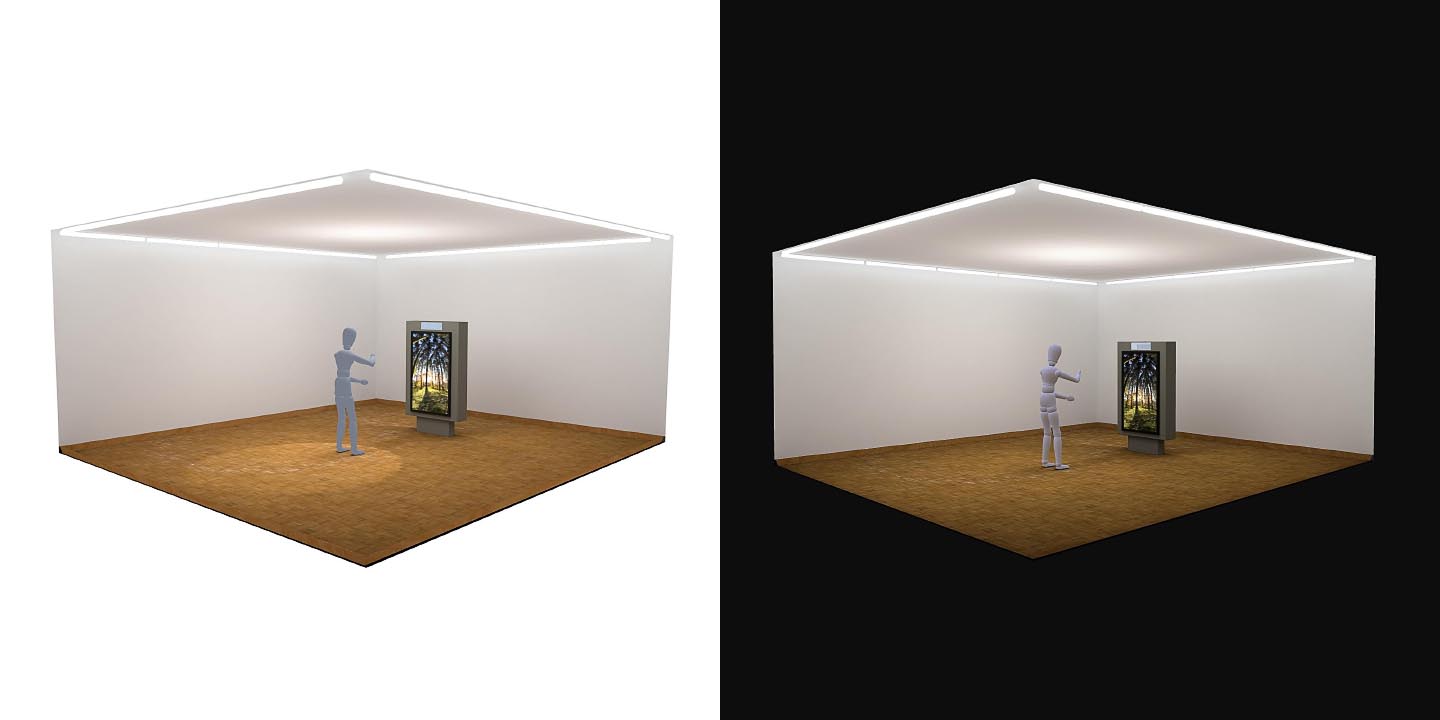
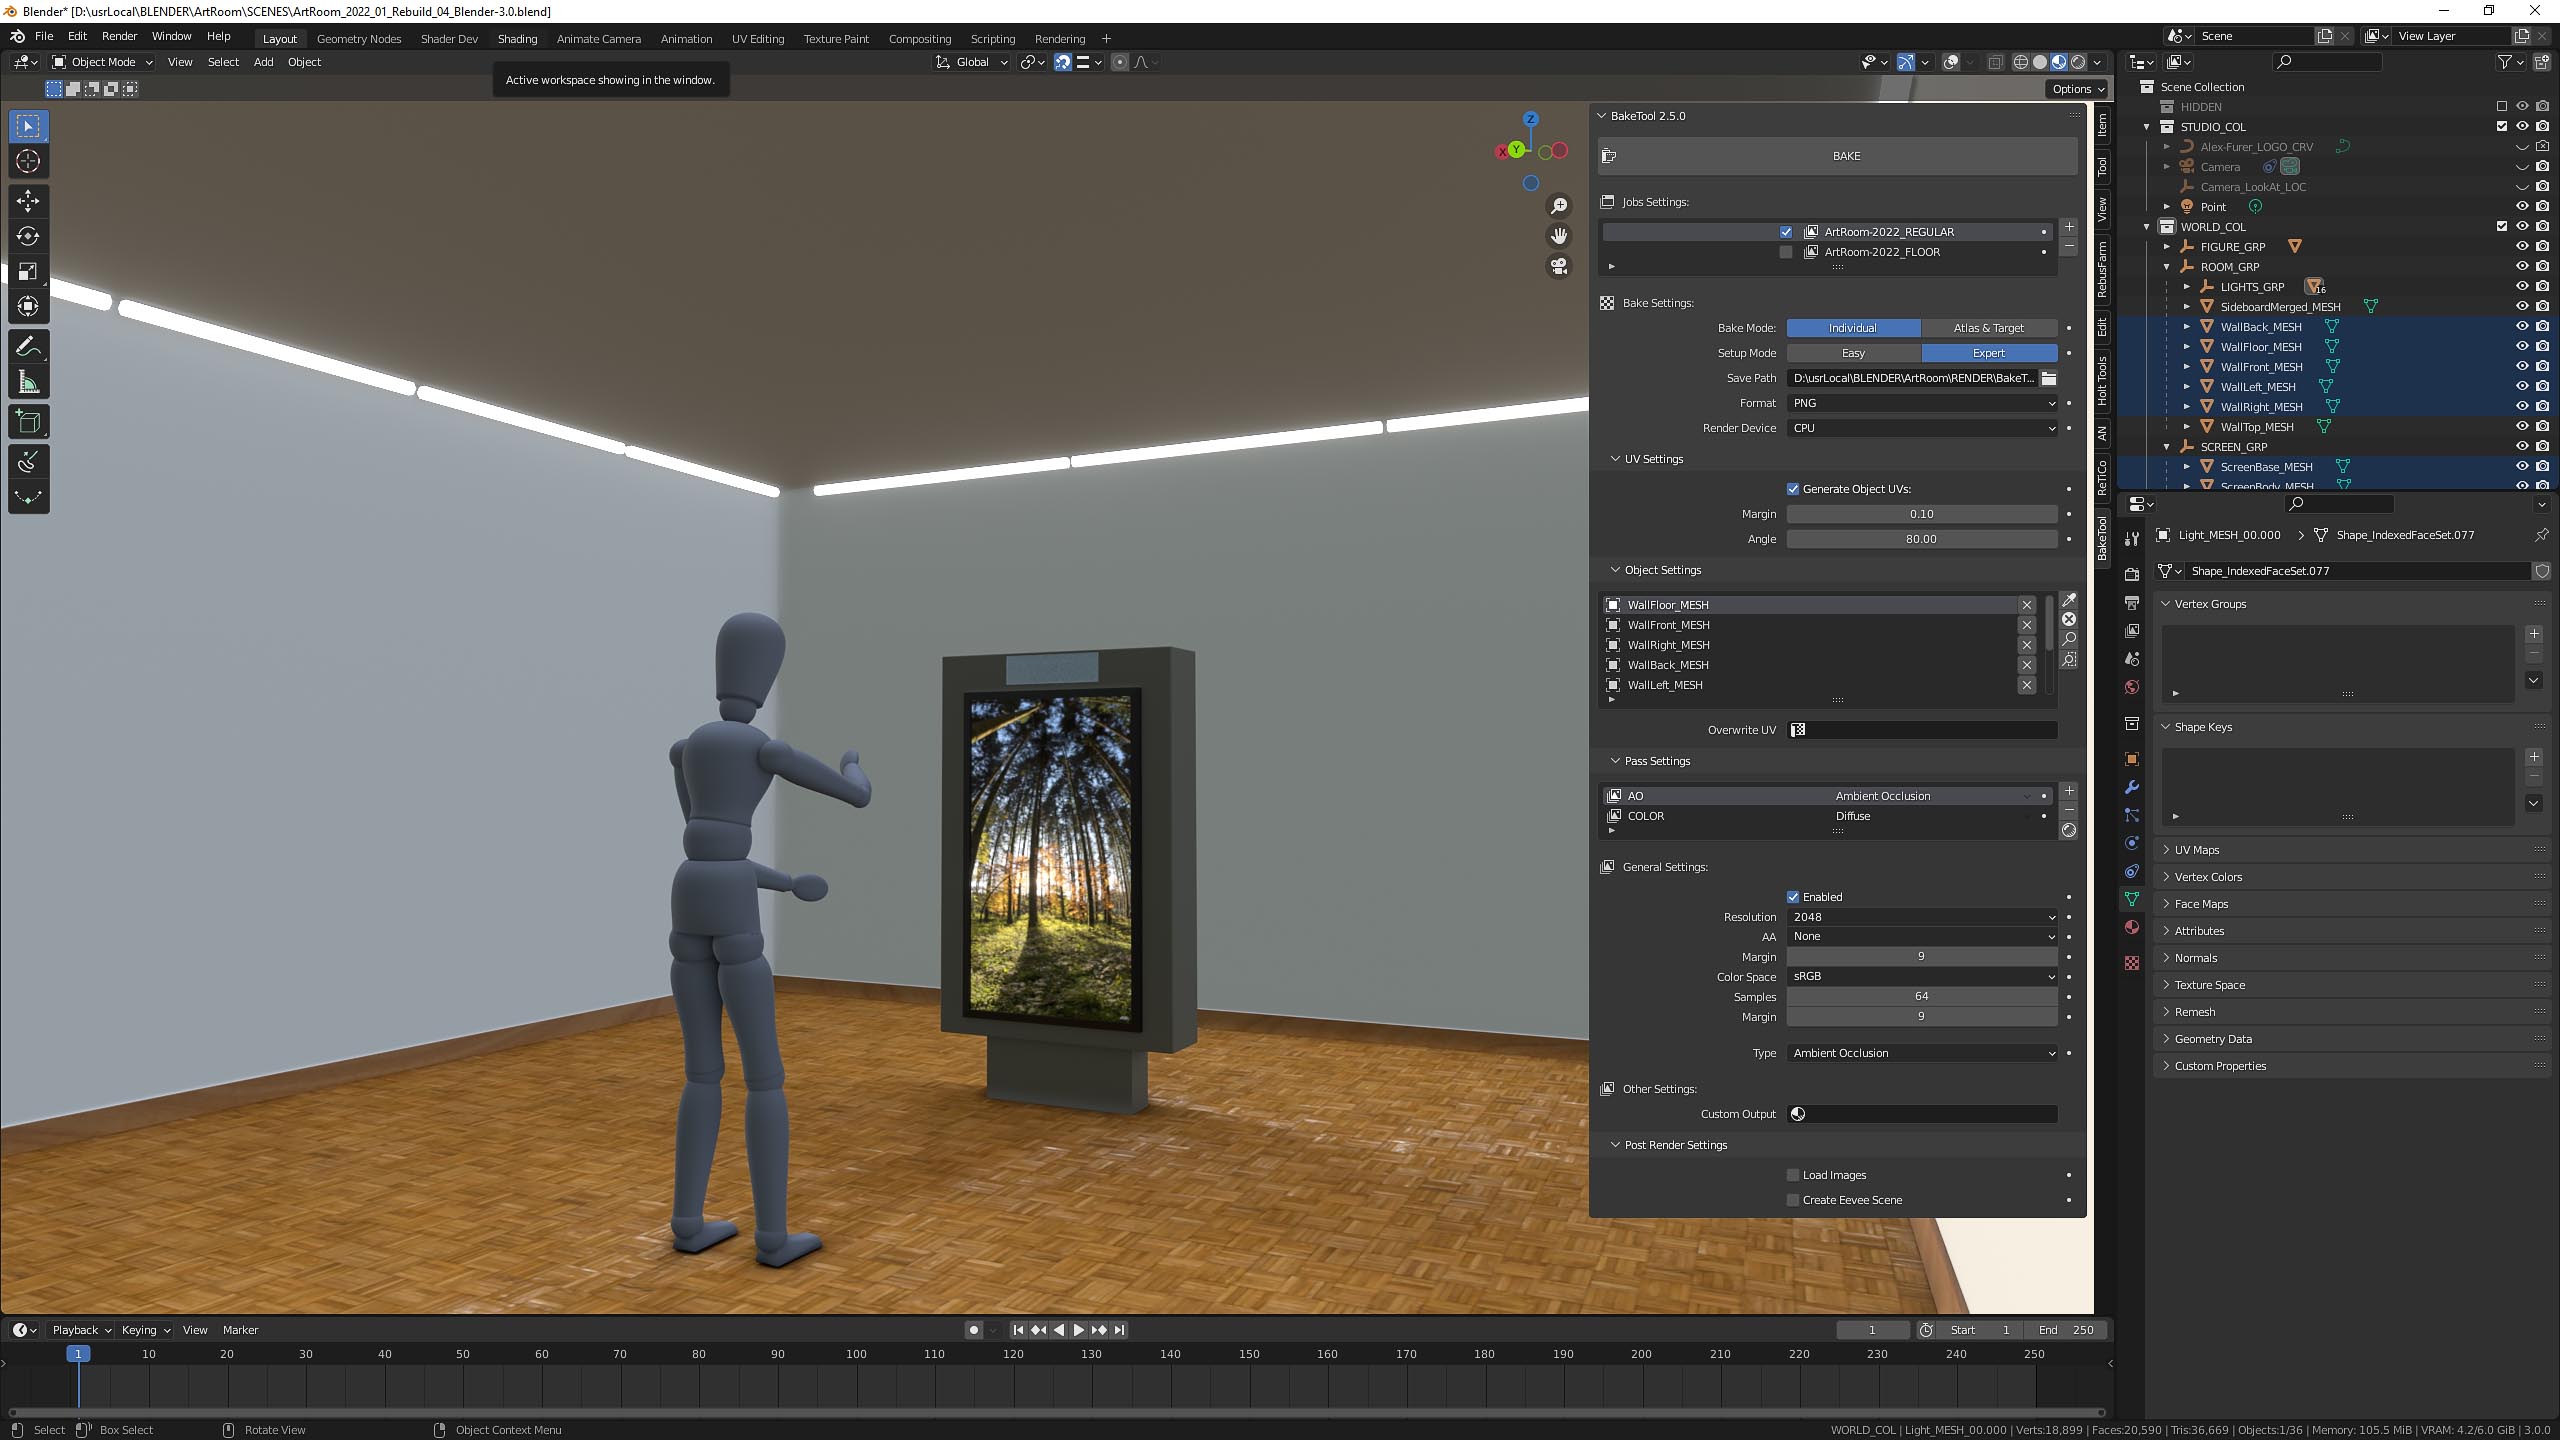
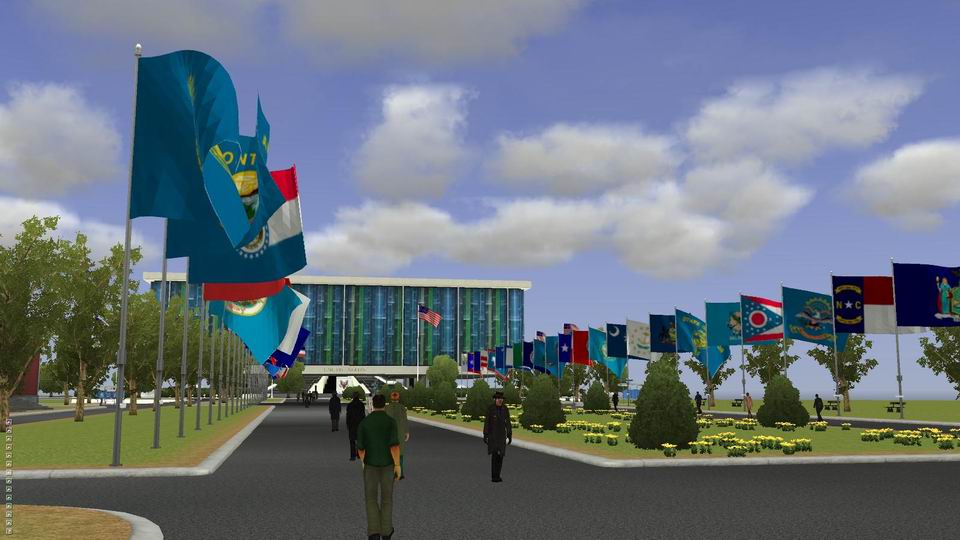
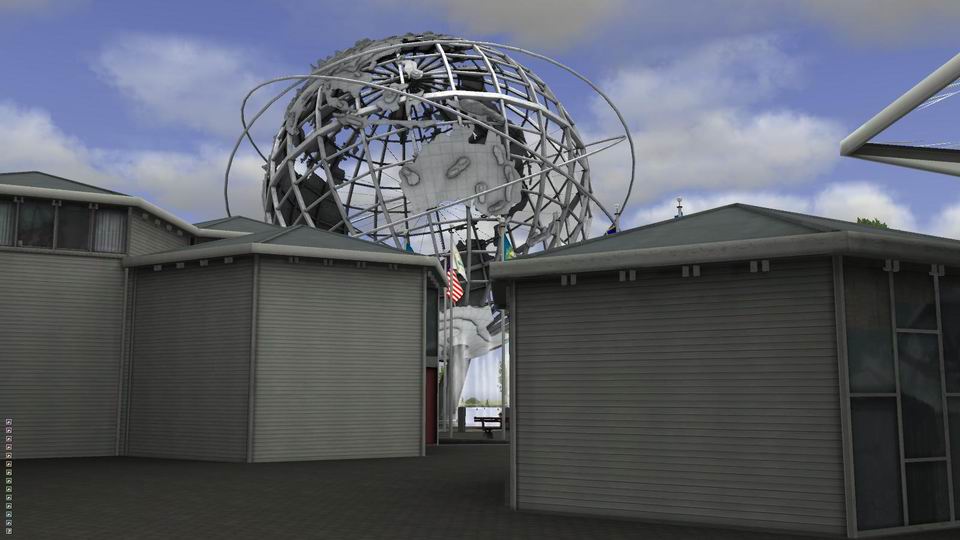
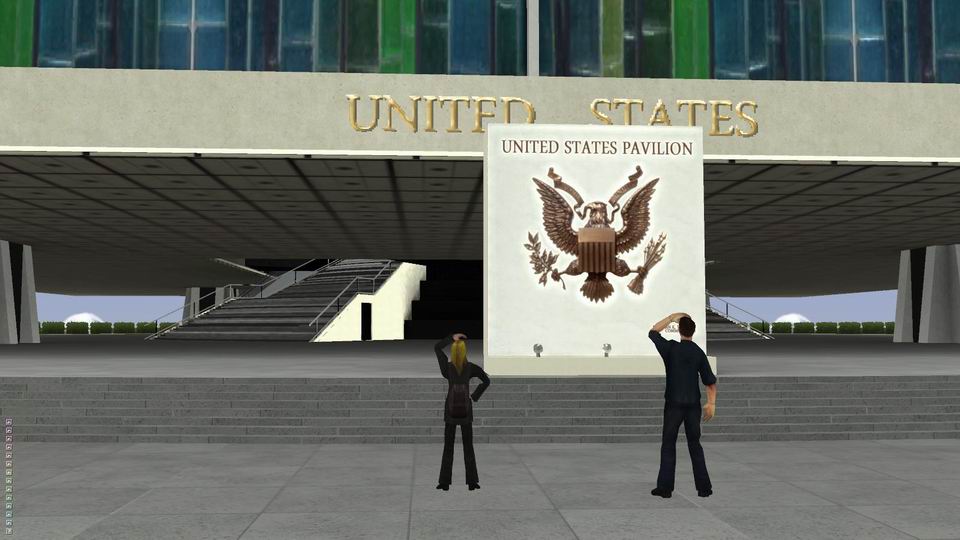
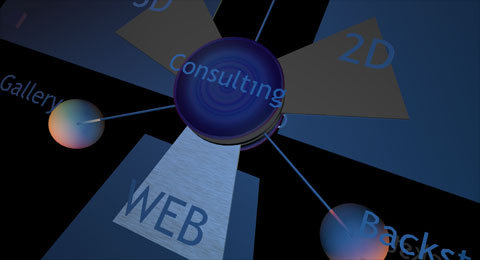
I reworked the ArtRoom, which I revived, and re-baked and exported it from Blender to BabylonJS, to the glTF (.glb) file format specifically from Blender.

I mainly added plates to put my photography on. I also tried to put a dedicated environment into the scene, but somehow the .babylon file is broken after exporting it. What I did is drag and drop the Blender export onto the BabyonJS sandbox and saved it as BabylonJS and glTF. But for some reason the environment did not come across.

But since I set all objects to «unlit», this doesn’t really matter that much.

Update April 16. This above is a heavily optimized version. A bit more moody, smaller textures and reduced figures polycount more manually. Basically the file went from 96 MB to 2 MB. Workflow seems stable.

I export from Blender using the built in glTF exporter, import that into the BabylonJS Sandbox, tweak a few things and export it from there. A very big help in all my work going to JPG is Greg Benz’s WebSharp PRO. Highly recommend adding this to your workflow as well!

Create your own environment (still unsolved)

So, technically, to create an environment go here.

Then:

  • drag and drop a hdr image
  • save the env
  • drag and drop the saved .env scene onto a sandbox scene

    But as said above, somehow the exported scene is broken. It cannot be re-imported to the BabylonJS sandbox…

Next Steps

  • Next step would be to code it up and make the images clickable.

BabylonJS

I have always looked for possibilities to display 3D content on the web. Many authoring software packages or plugins came and died. Now there’s a new initiative that looks very promising. Modern, sexy (yes, I still use that description, sue me!), easy, flexible and just cool.

It’s called BabylonJS and you can find all information about it at their website.

Together with Blender3, the Blender BabylonJS Export plugin and the baking plugin BakeTools one is up and running very fast. Here’s a good tutorial on how to export from Blender using this plugin.

It’s then very convenient to load the exported scene into the BabylonJS sandbox where textures can be loaded or replaced and the materials can be tweaked. Plus there’s a lot more settings that can be set. Like how far down the user can tilt the camera, or add a dedicated environment and much more. And the Java capabilities of the Framework the sky is the limit 🙂

Also there’s a WordPress plugin to display your models on your website, stored local or in the cloud! Actually there is two plugins. More about them here.

Example; ArtRoom 2022 (revived)

I revived a project I did with Vera Liechti many years ago. We entered an exhibition contest and wanted to present Vera’s oil paintings interactively. Meaning we built in a stereo camera (something like a kinect) and the visitors could interact with the artwork by moving their body. The visitor could then step on a button and the version of Vera’s painting would have been printed and the visitor could take that print home. Here’s the PDF we submitted. Unfortunately we were not accepted. We had a working prototype. Here’s the previz data from then now reworked in Blender and exported to Babylon JS.

Blender «BakingTool» Addon

While getting nice results with the built-in baking in Blender, There’s no way to denoise the renders while rendering. That’s not a biggie, as the compositor can easily be used to denoise the results.

But the baking is sorta cumbersome and very manual. So I was looking for a solution that would automate this a bit. First I tried this GitHub project called «Lightmapper«. But even after hours of testing, running various Blender versions etc. I simply did not get any images out of it. It rendered for 0.0 or 0.01 seconds and nothing. I am sure I missed something, but as it looks like a cool solution. Give it a try! Projects like those are not priceless because they’re free, but many times they combine the best of many commercial tools. But there’s always the «which version of host app to run with which version of the code» problem. Which is not the case with commercial products.

So I found the apparently most well known Blender baking tool called «Baketool«. Bought it, installed it, played with it, consulted their documentation and watched a video or two and I was up and running and it rendered images in no time.

While there’s more than «Baketools» and the Github project «Lightmapper», I am happy with my purchase of «Blendtools». I found my list here. Give it whirl, you might find something that suits you.

Final bake in Blender (left) and the in the BabylonJS Sandbox (right)

Side note: I added a point light for more illumination than just from the neon tubes with an emissive material. And also a spot light to bake the figure.

Process

The process is very easy with this addon.

  • Create a new Job
  • Decide the baking mode (Individual or Atlas & Target)
  • Setup mode, save path, Image format and render device
  • UV settings (Good at default)
  • Then add the object you want to bake
  • Choose the render passes
  • Hit «Bake»

My setup

  • Created a job called «ArtRoom-2022_REGULAR»
  • Chose to bake individual surfaces to texture
  • Enabled «Expert» because it has more options
  • Set path, chose PNG and CPU (with my 1060 there’s not much difference to CPU…)
  • Added all the meshes I want to bake
  • Setup AO and Diffuse pass to be rendered (more samples on AO for less noisiness)
Baketool setup in Blender
Result Diffuse and Ambient Occlusion

Blender «Little Planet» Tutorial

On my journey to learn Blender I found this tutorial by Studio Gearnoodle on Youtube.

I took the opportunity to practice modelling, animating and lighting techniques I learned so far and model my own mushrooms and buildings. Basically I am trying to apply the knowledge I’ve acquired for the past 25 years doing 3D to the Blender interface.

I gotta say, Blender is on to something here. They really are taking the right direction and are providing a full fleshed package and with their philosophy of «everything nodes» the potential is huge. And free! Yes, OpenSource!

«Unleash the beast» – Houdini

On my journey to leave Maya behind me and not being involved in any 3D production work I started to learn some Houdini.

Since I saw it the first time back at Siggraph in 1996 I was drawn to it. But my professional jobs never left any time to dig into it.

I really love Houdini and I find it the best package out there. But… It became very clear very fast that to become proficient in using it would need a large junk of time.

Nevertheless here’s my interpretation of a tutorial by Nine Between.

Institute of Pharmacology «T-Cell Animation»

This is an animation showing a T-Cell that connects to a cell and is able to discharge when the cell is not covered with sugar crystals but fails if the cell is completely covered.

From Autumn 2019 until Summer 2021 I worked in the research group of Prof. Stephan von Gunten at the «Institute of Pharmacology» at the University of Bern, Bern Switzerland, as a 3D instructor and animator.

Institute of Pharmacology «Virus Animation»

This is an animation about the process of a virus docking to a cell, entering the cell and getting the cell to replicate the virus multiple times and the replicated viruses exiting the cell.

From Autumn 2019 until Summer 2021 I worked in the research group of Prof. Stephan von Gunten at the «Institute of Pharmacology» at the University of Bern, Bern Switzerland, as a 3D instructor and animator.

Unity Engine Evaluation

After completing the work for the AAS demo of the NYWF project we crawled back to our cave and started questioning whether it’s a good idea to continue working with the Ogre 3D engine.

We built small tiger teams to evaluate 3 – 4 engines. Unreal, CryEngine, Trinigy and Unity.

I took on Unity and rebuilt parts of the fair from the content we have from the AAAS demo.

Unity is a very modern game engine. It supports all the new devices and platforms. It’s very convenient since authoring one game means you’ll be able to deliver on several platforms.

The downside of Unity is the lack of support for industry standards like LOD switching as well as an integrated node based shader editor. For things like that the users of Unity have to rely on the community. While there are tons of such micro solutions out there, there’s no way any game studio would rely on third parties to continuously support such tools on their own. «You get what you pay for» comes to my mind. And «OpenSource is freeware»…

We decided to keep going with Ogre3D mainly because of licensing issues. While all engines provide an EDU licensing scheme, that scheme is meant to be for educational purposes only. As long as you distribute your game for free, you might use the engine for free. But since our final deliverable is going to go into museums where people pay admission, we had to drop almost all of the engines immediately.

Here’s a few more images from my exercise

Proxy buildings using LOD’s in place

Here are some shots of the New York World’s Fair proxy simulation I built. The idea behind this was to get an estimate on how many polygons the Ogre engine can take and also it should be used as a playground to implement gameplay mechanisms.

The 3 LOD’s range from 50’000 (low level, pink) over 1.8 million (medium level, green) to 15 million polygons (highest level, turquoise). If all of either LODs is loaded at once that is.

In most cases only the very close buildings are seen in the highest level of detail.

While visually not very attractive this was a good footprint of the complete product and a great test-bed.

Different LODs showing

Detail Shot

Detail Shot

Detail Shot


DSGVO Cookie-Einwilligung mit Real Cookie Banner